
Power Styles
All these styles rely on the settings for each section which can be accessed by editing the page and then clicking on the pen icon in the top right of each section.
Add a background color behind the content when you have a background image
Instructions:
Add a background image and content for the section
Set custom section height to 70
choose the color theme of you choice to get the background color and text color
Video Tutorial:

add in any content in here
Vivamus suscipit tortor eget felis porttitor volutpat. Sed porttitor lectus nibh. Vivamus suscipit tortor eget felis porttitor volutpat. Vivamus magna justo, lacinia eget consectetur sed, convallis at tellus. Cras ultricies ligula sed magna dictum porta. Curabitur aliquet quam id dui posuere blandit. Nulla quis lorem ut libero malesuada feugiat. Vivamus suscipit tortor eget felis porttitor volutpat. Lorem ipsum dolor sit amet, consectetur adipiscing elit. Praesent sapien massa, convallis a pellentesque nec, egestas non nisi.
Sections with two background colors split vertically
2 colors vertically split
Add text blocks or other image blocks as desired
Make sure the text will be readable over both colors on all device sizes

Background -> Art -> 5th option
Set the start and end colors
start position: 0
end position: 0
angle: 180
slanted background color:
background art:
start color: light
end color: bright
start position: -66
end position: -65
angle: 106
complexity and other settings: 0
To add another slanted section that is the reverse of the above
duplicate section above and then invert colors
curved background:
background art:3rd option
size: 98
motion: 0
morph: 0
bevel and blur: off
steps: 9
pattern background:
background art: (first option)
upload custom image
set the options in the panel for motion settings
to get this color box behind the text select the quote option from the text bar editor
Sections with two background colors split horizontally
Two colors stacked on top of each other in a section
Add text blocks or other image blocks as desired
Make sure the text will be readable over both colors on all device sizes

Background -> Art -> 5th option
Set the start and end colors
start position: -66
end position: -66
angle: 90
Add a line at bottom of section
Instructions:
Set section width to 36 then select small, medium or large height as desired
Select full or inset under background
Select any color theme or section height and width as desired
the color and size of the border can be set by editing the variables @sectionlinecolor and @sectionlinesize in the Custom CSS area
Pellentesque in ipsum id orci porta dapibus. Praesent sapien massa, convallis a pellentesque nec, egestas non nisi. Curabitur non nulla sit amet nisl tempus convallis quis ac lectus. Donec rutrum congue leo eget malesuada. Vivamus suscipit tortor eget felis porttitor volutpat. Quisque velit nisi, pretium ut lacinia in, elementum id enim. Praesent sapien massa, convallis a pellentesque nec, egestas non nisi. Curabitur arcu erat, accumsan id imperdiet et, porttitor at sem. Cras ultricies ligula sed magna dictum porta. Donec rutrum congue leo eget malesuada.

Add line around section content on all sides
Instructions:
Set section width to 37 then select small, medium or large height as desired
Select inset under background
Select any color theme or section height and width as desired
the color and size of the border can be set by editing the variables @sectionlinecolor and @sectionlinesize in the Custom CSS area
Pellentesque in ipsum id orci porta dapibus. Praesent sapien massa, convallis a pellentesque nec, egestas non nisi. Curabitur non nulla sit amet nisl tempus convallis quis ac lectus. Donec rutrum congue leo eget malesuada. Vivamus suscipit tortor eget felis porttitor volutpat. Quisque velit nisi, pretium ut lacinia in, elementum id enim. Praesent sapien massa, convallis a pellentesque nec, egestas non nisi. Curabitur arcu erat, accumsan id imperdiet et, porttitor at sem. Cras ultricies ligula sed magna dictum porta. Donec rutrum congue leo eget malesuada.

Align the content in a section vertically (at the top, center or bottom)
Instructions:
set the section height to 63 and then small, medium or large as desired
Select content alignment of top, center or bottom to control how the content aligns
Video Tutorial:
Top aligned

Make it stand out
Whatever it is, the way you tell your story online can make all the difference.

Make it stand out
Whatever it is, the way you tell your story online can make all the difference.

Make it stand out
Whatever it is, the way you tell your story online can make all the difference.
Center aligned

Make it stand out
Whatever it is, the way you tell your story online can make all the difference.

Make it stand out
Whatever it is, the way you tell your story online can make all the difference.

Make it stand out
Whatever it is, the way you tell your story online can make all the difference.
Bottom aligned

Make it stand out
Whatever it is, the way you tell your story online can make all the difference.

Make it stand out
Whatever it is, the way you tell your story online can make all the difference.

Make it stand out
Whatever it is, the way you tell your story online can make all the difference.
Add a vertical line down the center of a section
Instructions:
Set content width to 32 then select small, medium or large height as desired
Change color as desired
background can be full width or inset
for inset, set the border color in the site styles panel
the color of the line can be modified in the custom CSS panel by changing the value for @linecolor for the color and @line for the size of the line
to center the content vertically in the section set the section height to 63 and then small, medium or large as desired
Video Tutorial:
Add a vertical line down the center of a section

Add any text or images as you like
In this instance I have created 3 columns by using spacer blocks
Split the content and background image equally

Split content and background image 50/50
content left / image right
Video Tutorial:
Select the 3 dots for “Content Width”
Select content width of 49 by typing it in or using the slider
For the second content alignment row choose the right option to place the image on the right and content on the left
Use spacer blocks to reduce the content width
Change color theme as desired
Optionally choose “inset” for the background width if you would like a border around the section (the color of the section is set in the site styles panel for color theme selected for the section)


Split content and background image 50/50
image left / content right
Select the 3 dots for “Content Width”
Select content width of 49 by typing it in or using the slider
For the second content alignment row choose the left option to place the image on the left and content on the right
Use spacer blocks to reduce the content width
Change color theme as desired
Optionally choose “inset” for the background width if you would like a border around the section (the color of the section is set in the site styles panel for color theme selected for the section)

Manage background image size and placement


Background Image on left
Select the 3 dots for “Content Width”
Select content width of 40 by typing it in or using the slider
Use spacer blocks to reduce the content width
Change color theme as desired
set the desired height and width of the section ( Small, Medium or Large) - this works best with at least a medium width, but large is the best
Optionally choose “inset” for the background width if you would like a border around the section (the color of the section is set in the site styles panel for color theme selected for the section)
Here are the settings you can control:
background-image-left-width : the percentage width of the image in the section (ie 40%)
background-image-left-height : the percentage height of the image in the section
background-image-left-top : the percentage distance from the top of the section that the image will appear
background-image-left-leftpos : the percentage distance from the left of the section that the image will appear
background-image-left-opacity : the opacity of the image ie:
1 = 100% opacity or fully visible
.1 = 10% opacity
.35 = 35% opacity

Background Image in middle
Select the 3 dots for “Content Width”
Select content width of 41 by typing it in or using the slider
set the desired height and width of the section ( Small, Medium or Large) - this works best with at least a medium width, but large is the best
Use spacer blocks to reduce the content width
Change color theme as desired
Optionally choose “inset” for the background width if you would like a border around the section (the color of the section is set in the site styles panel for color theme selected for the section)
Here are the settings you can control:
background-image-center-width:: the percentage width of the image in the section (ie 40%)
background-image-center-height: the percentage height of the image in the section
background-image-center-top : the percentage distance from the top of the section that the image will appear
background-image-left-leftpos : the percentage distance from the left of the section that the image will appear
background-image-center-opacity: the opacity of the image ie:
1 = 100% opacity or fully visible
.1 = 10% opacity
.35 = 35% opacity

Background Image on right
Select the 3 dots for “Content Width”
Select content width of 42 by typing it in or using the slider
set the desired height and width of the section ( Small, Medium or Large) - this works best with at least a medium width, but large is the best
Use spacer blocks to reduce the content width
Change color theme as desired
Optionally choose “inset” for the background width if you would like a border around the section (the color of the section is set in the site styles panel for color theme selected for the section)
Here are the settings you can control:
background-image-right-width : the percentage width of the image in the section (ie 40%)
background-image-right-height : the percentage height of the image in the section
background-image-right-top : the percentage distance from the top of the section that the image will appear
background-image-right-leftpos : the percentage distance from the left of the section that the image will appear
background-image-right-opacity: the opacity of the image ie:
1 = 100% opacity or fully visible
.1 = 10% opacity
.35 = 35% opacity

Banner image on left with staggered background color
Select the 3 dots for “Content Width”
Select content width of 43 by typing it in or using the slider
use spacer blocks as desired to move the content to the right
Change color theme as desired
set the desired height and width of the section ( Small, Medium or Large) - this works best with at least a medium width, but large is the best
Optionally choose “inset” for the background width if you would like a border around the section (the color of the section is set in the site styles panel for color theme selected for the section)

Overlapping content off bottom of background image
add background image and select overlay opacity
select color theme to choose the background color of the content area and the text color
Set section height to 70 and then S,M or L
Set content width to 35
select content width of S,M or L
select content position (bottom option) of left, center or right


Make it stand out.
-
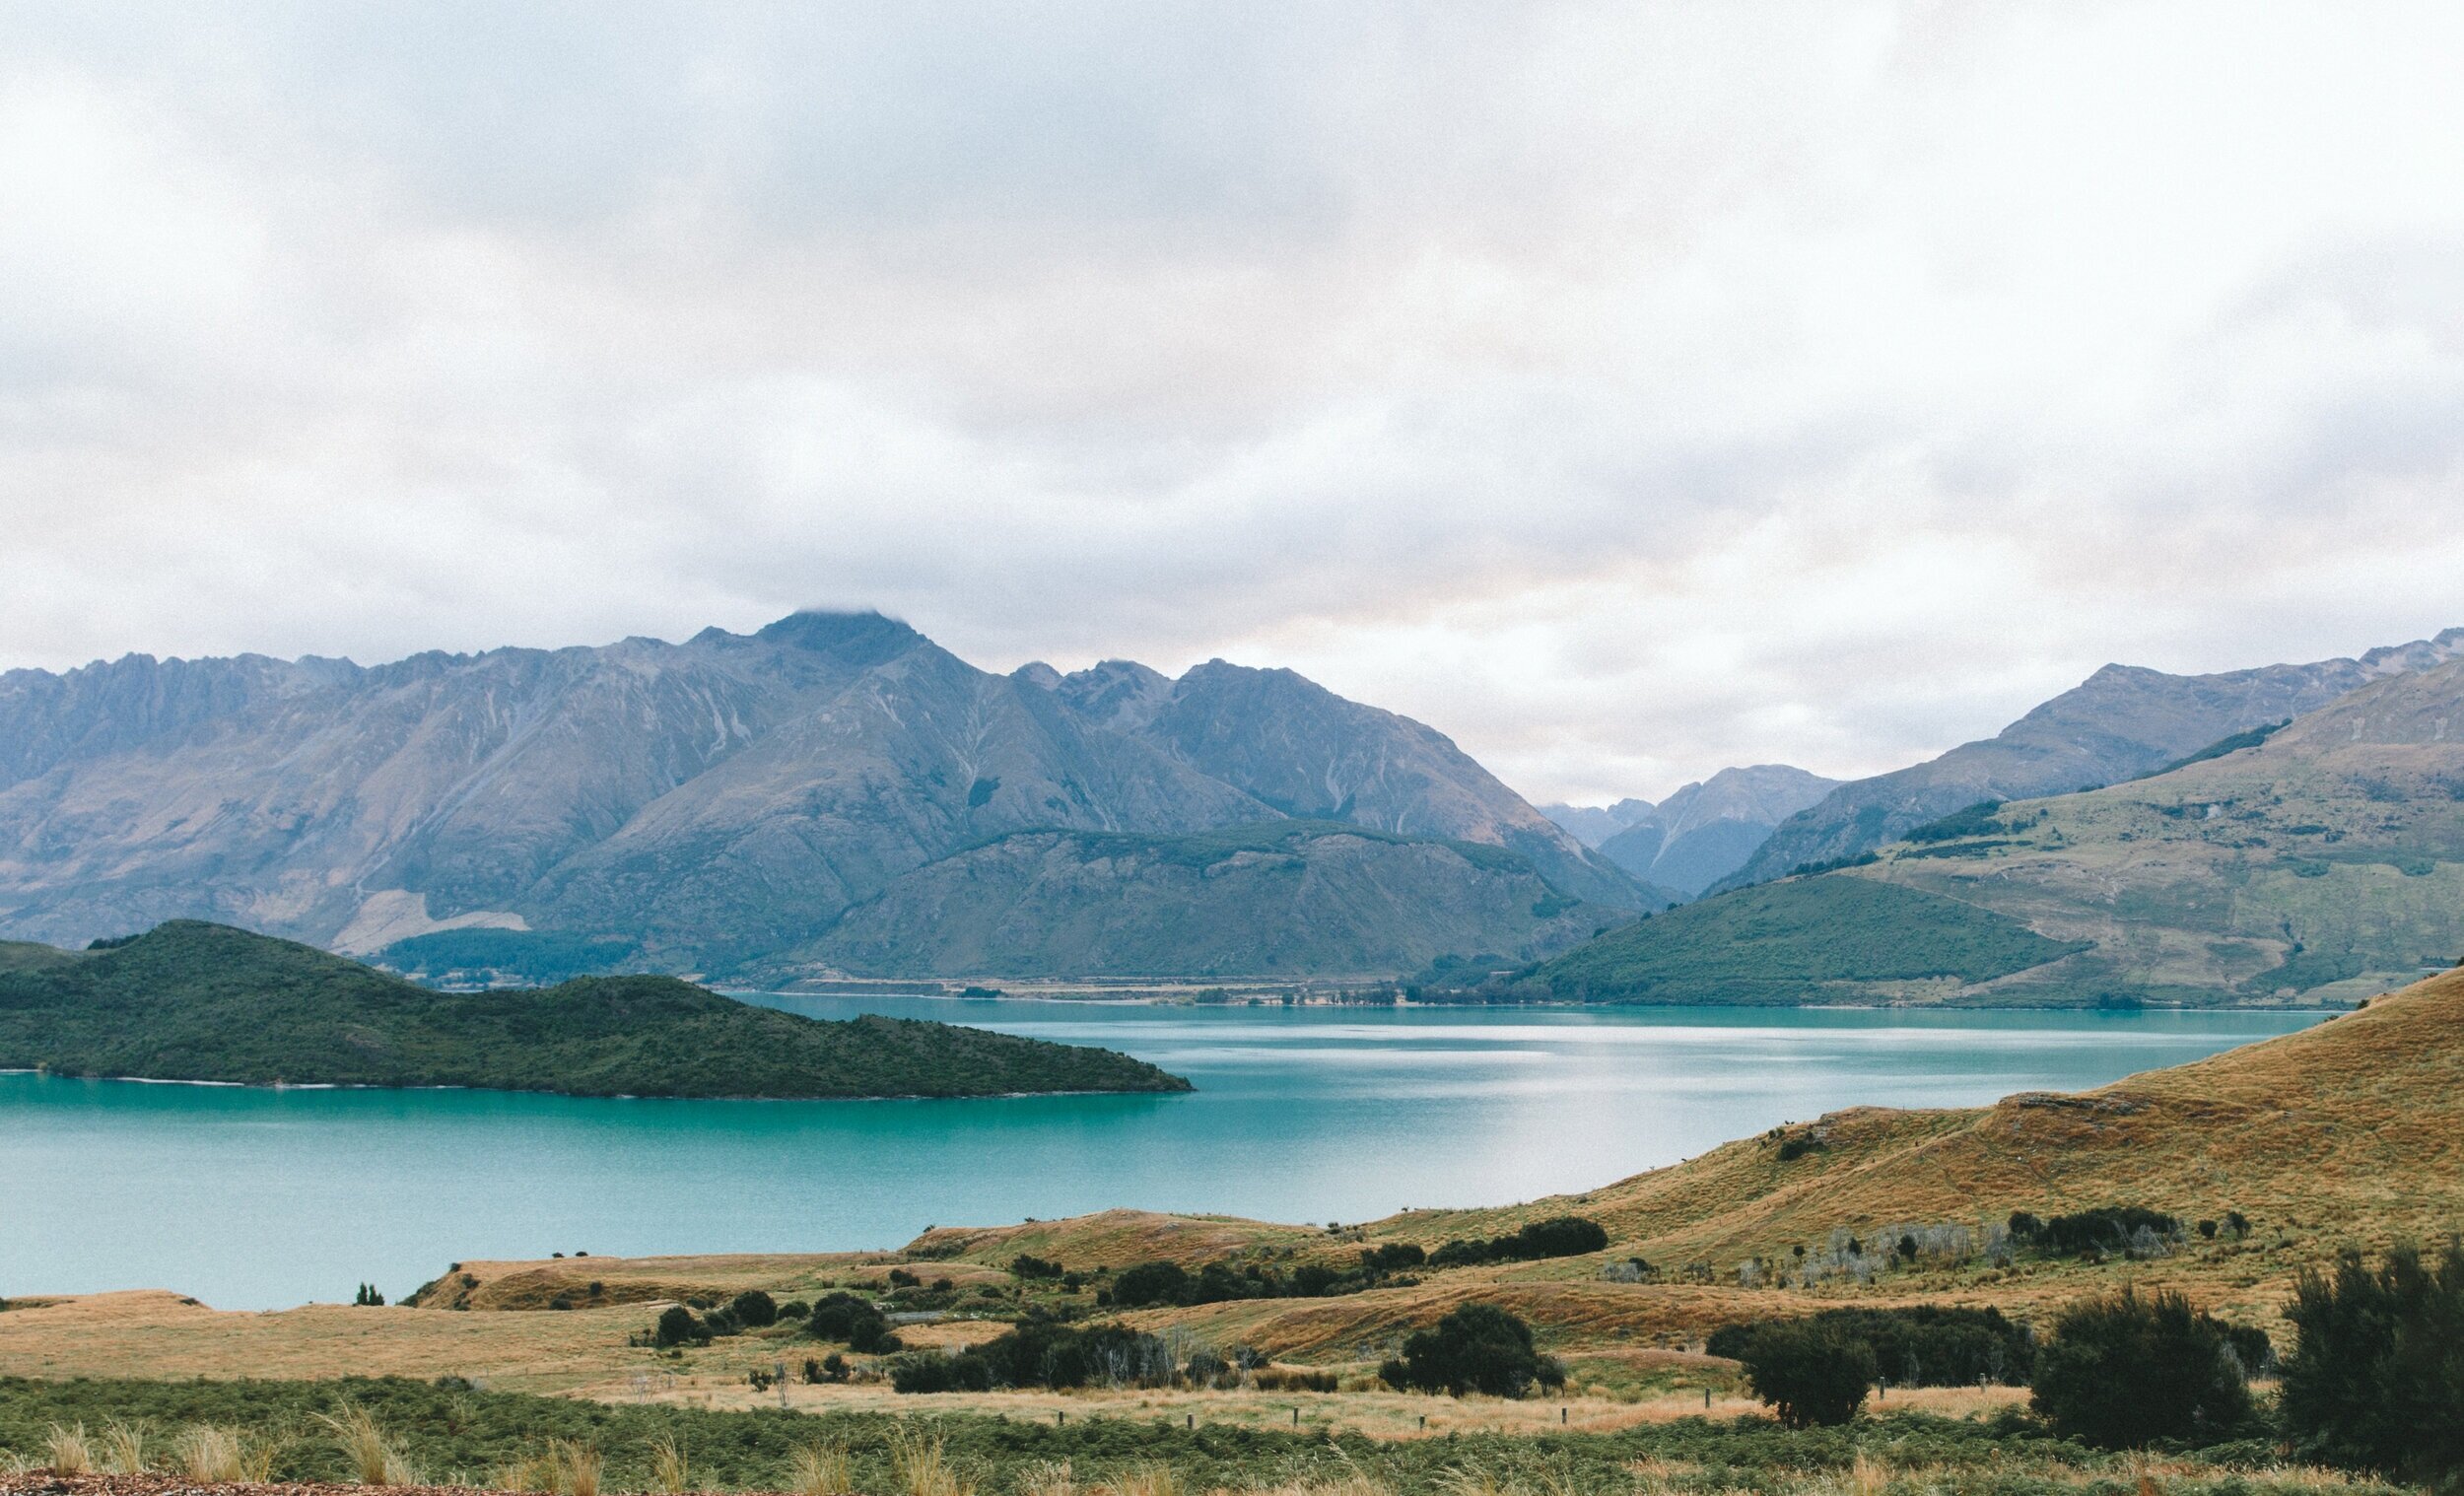
![Scenic landscape with a large body of water, green rolling hills, and mountain range in the background under a cloudy sky.]()
Dream it.
It all begins with an idea. Maybe you want to launch a business. Maybe you want to turn a hobby into something more.
-
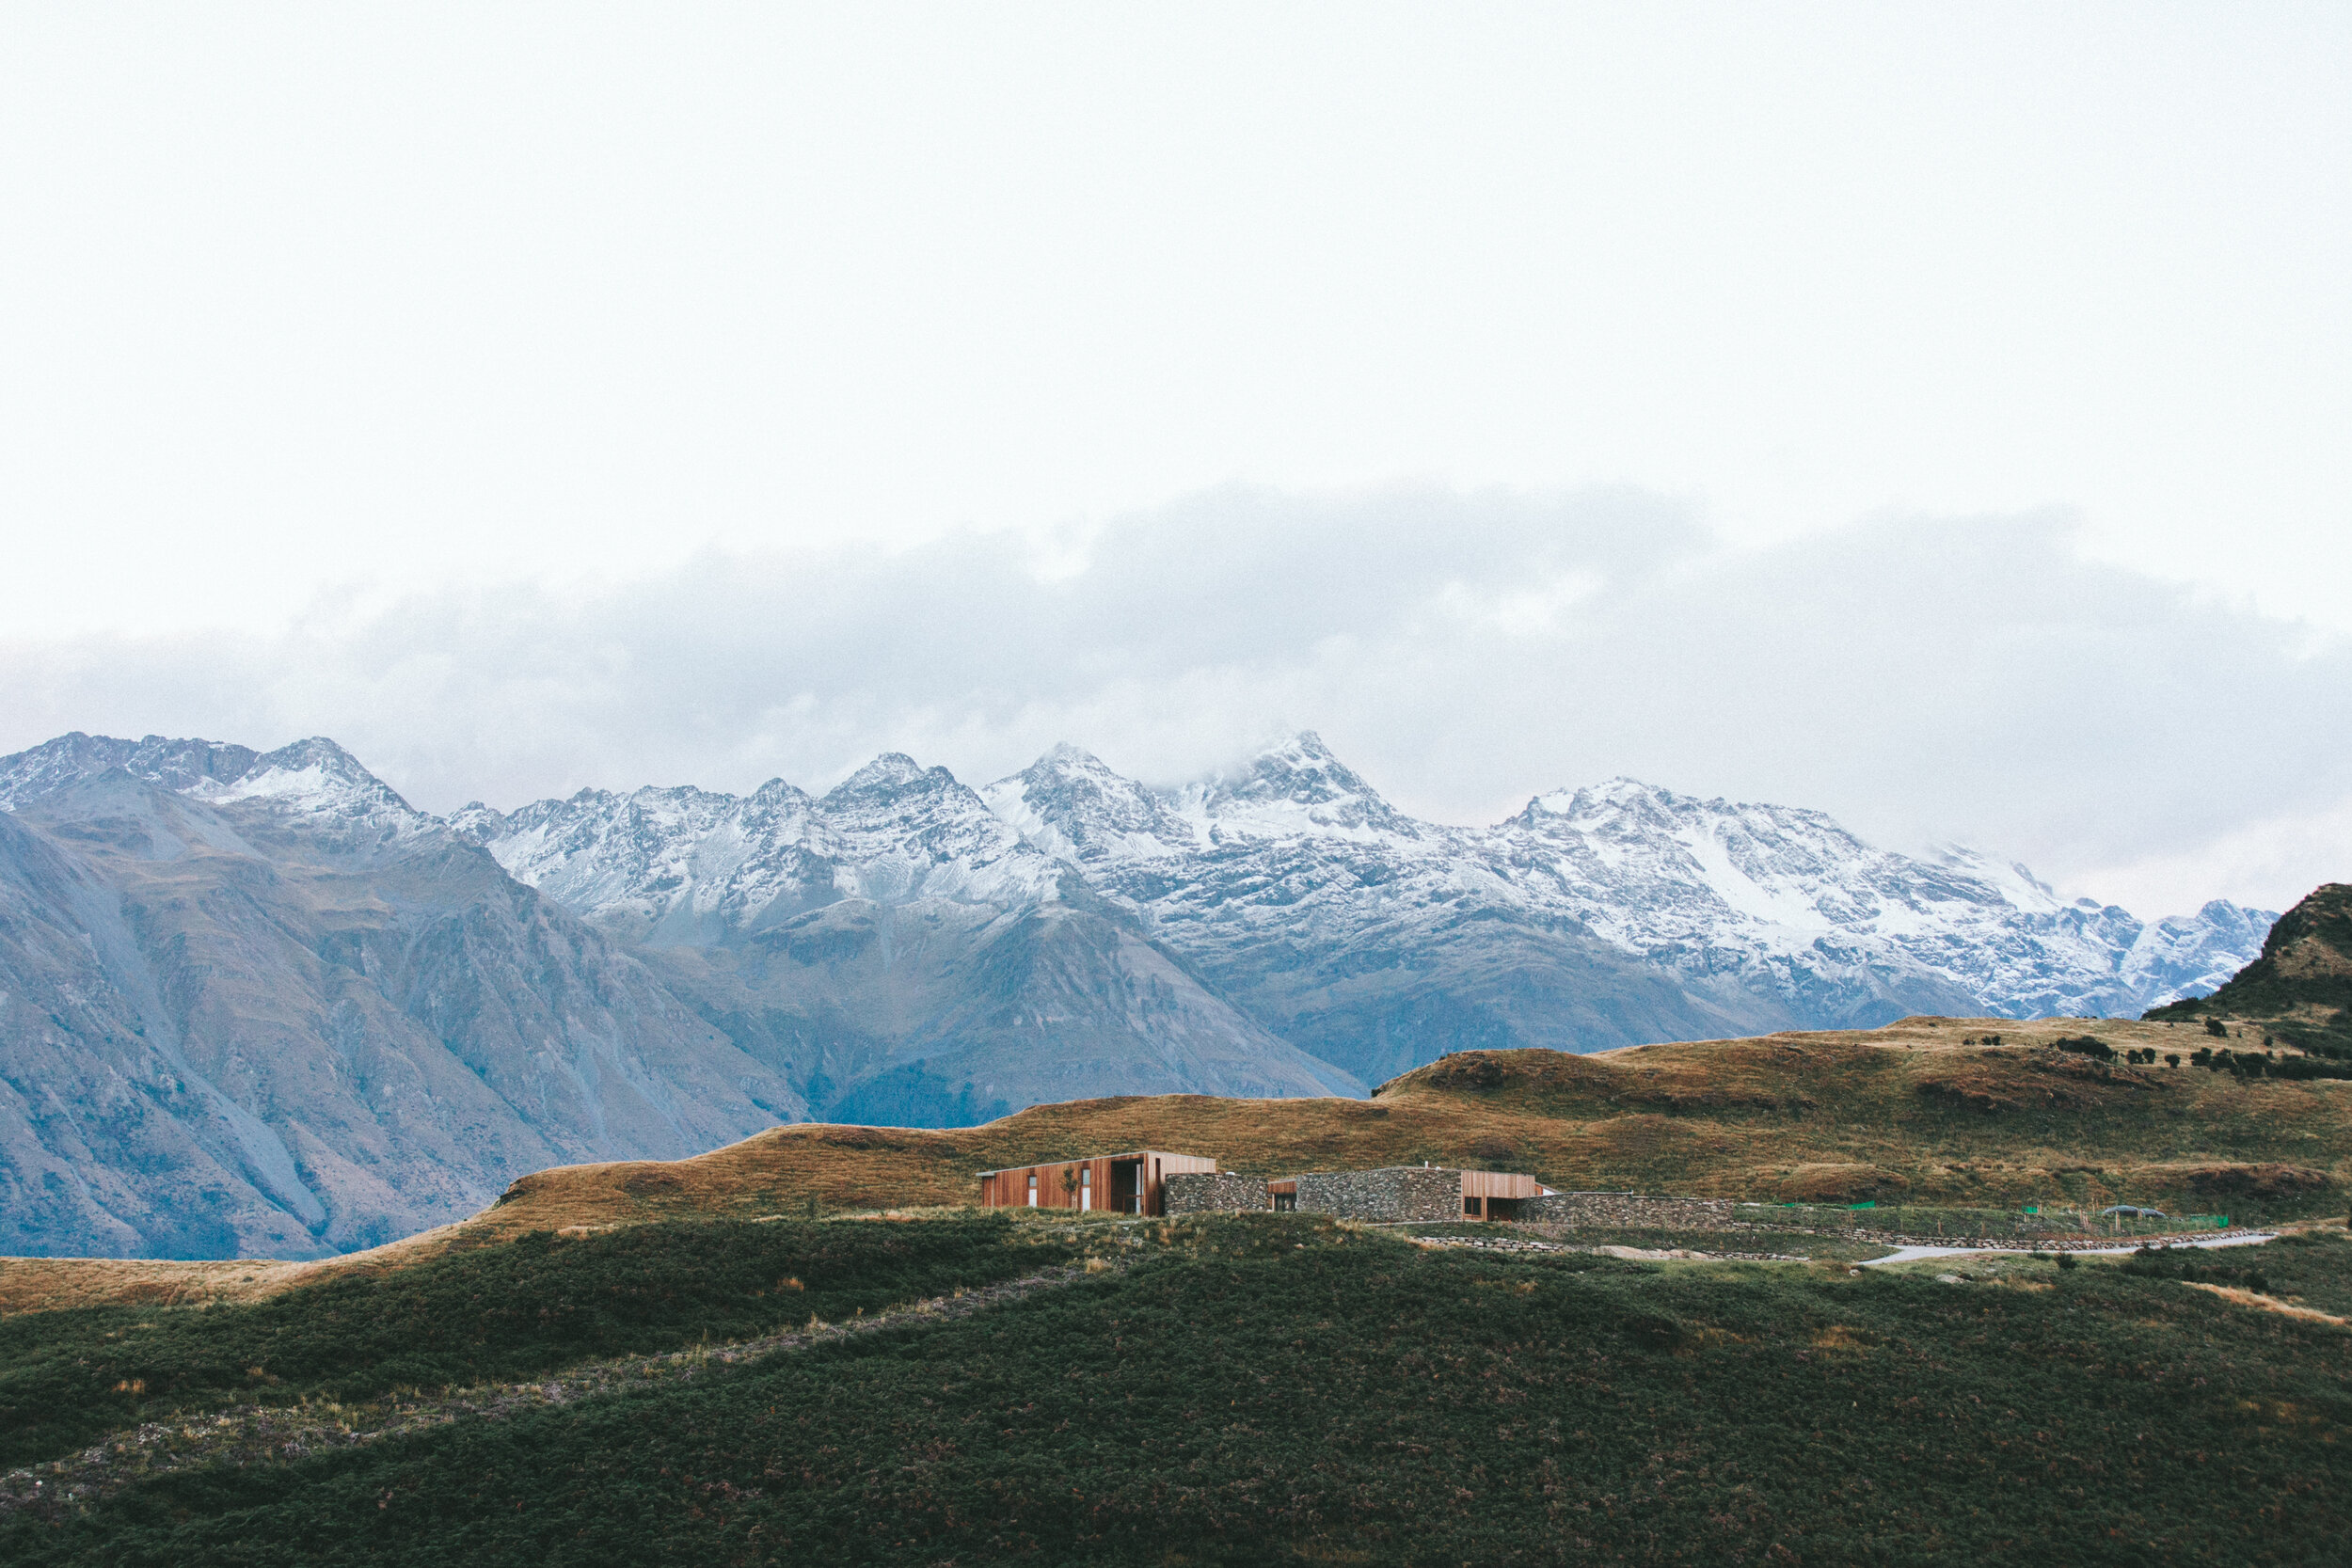
![A modern building on a lush green hillside with snow-capped mountains in the background under a cloudy sky.]()
Build it.
It all begins with an idea. Maybe you want to launch a business. Maybe you want to turn a hobby into something more.
-
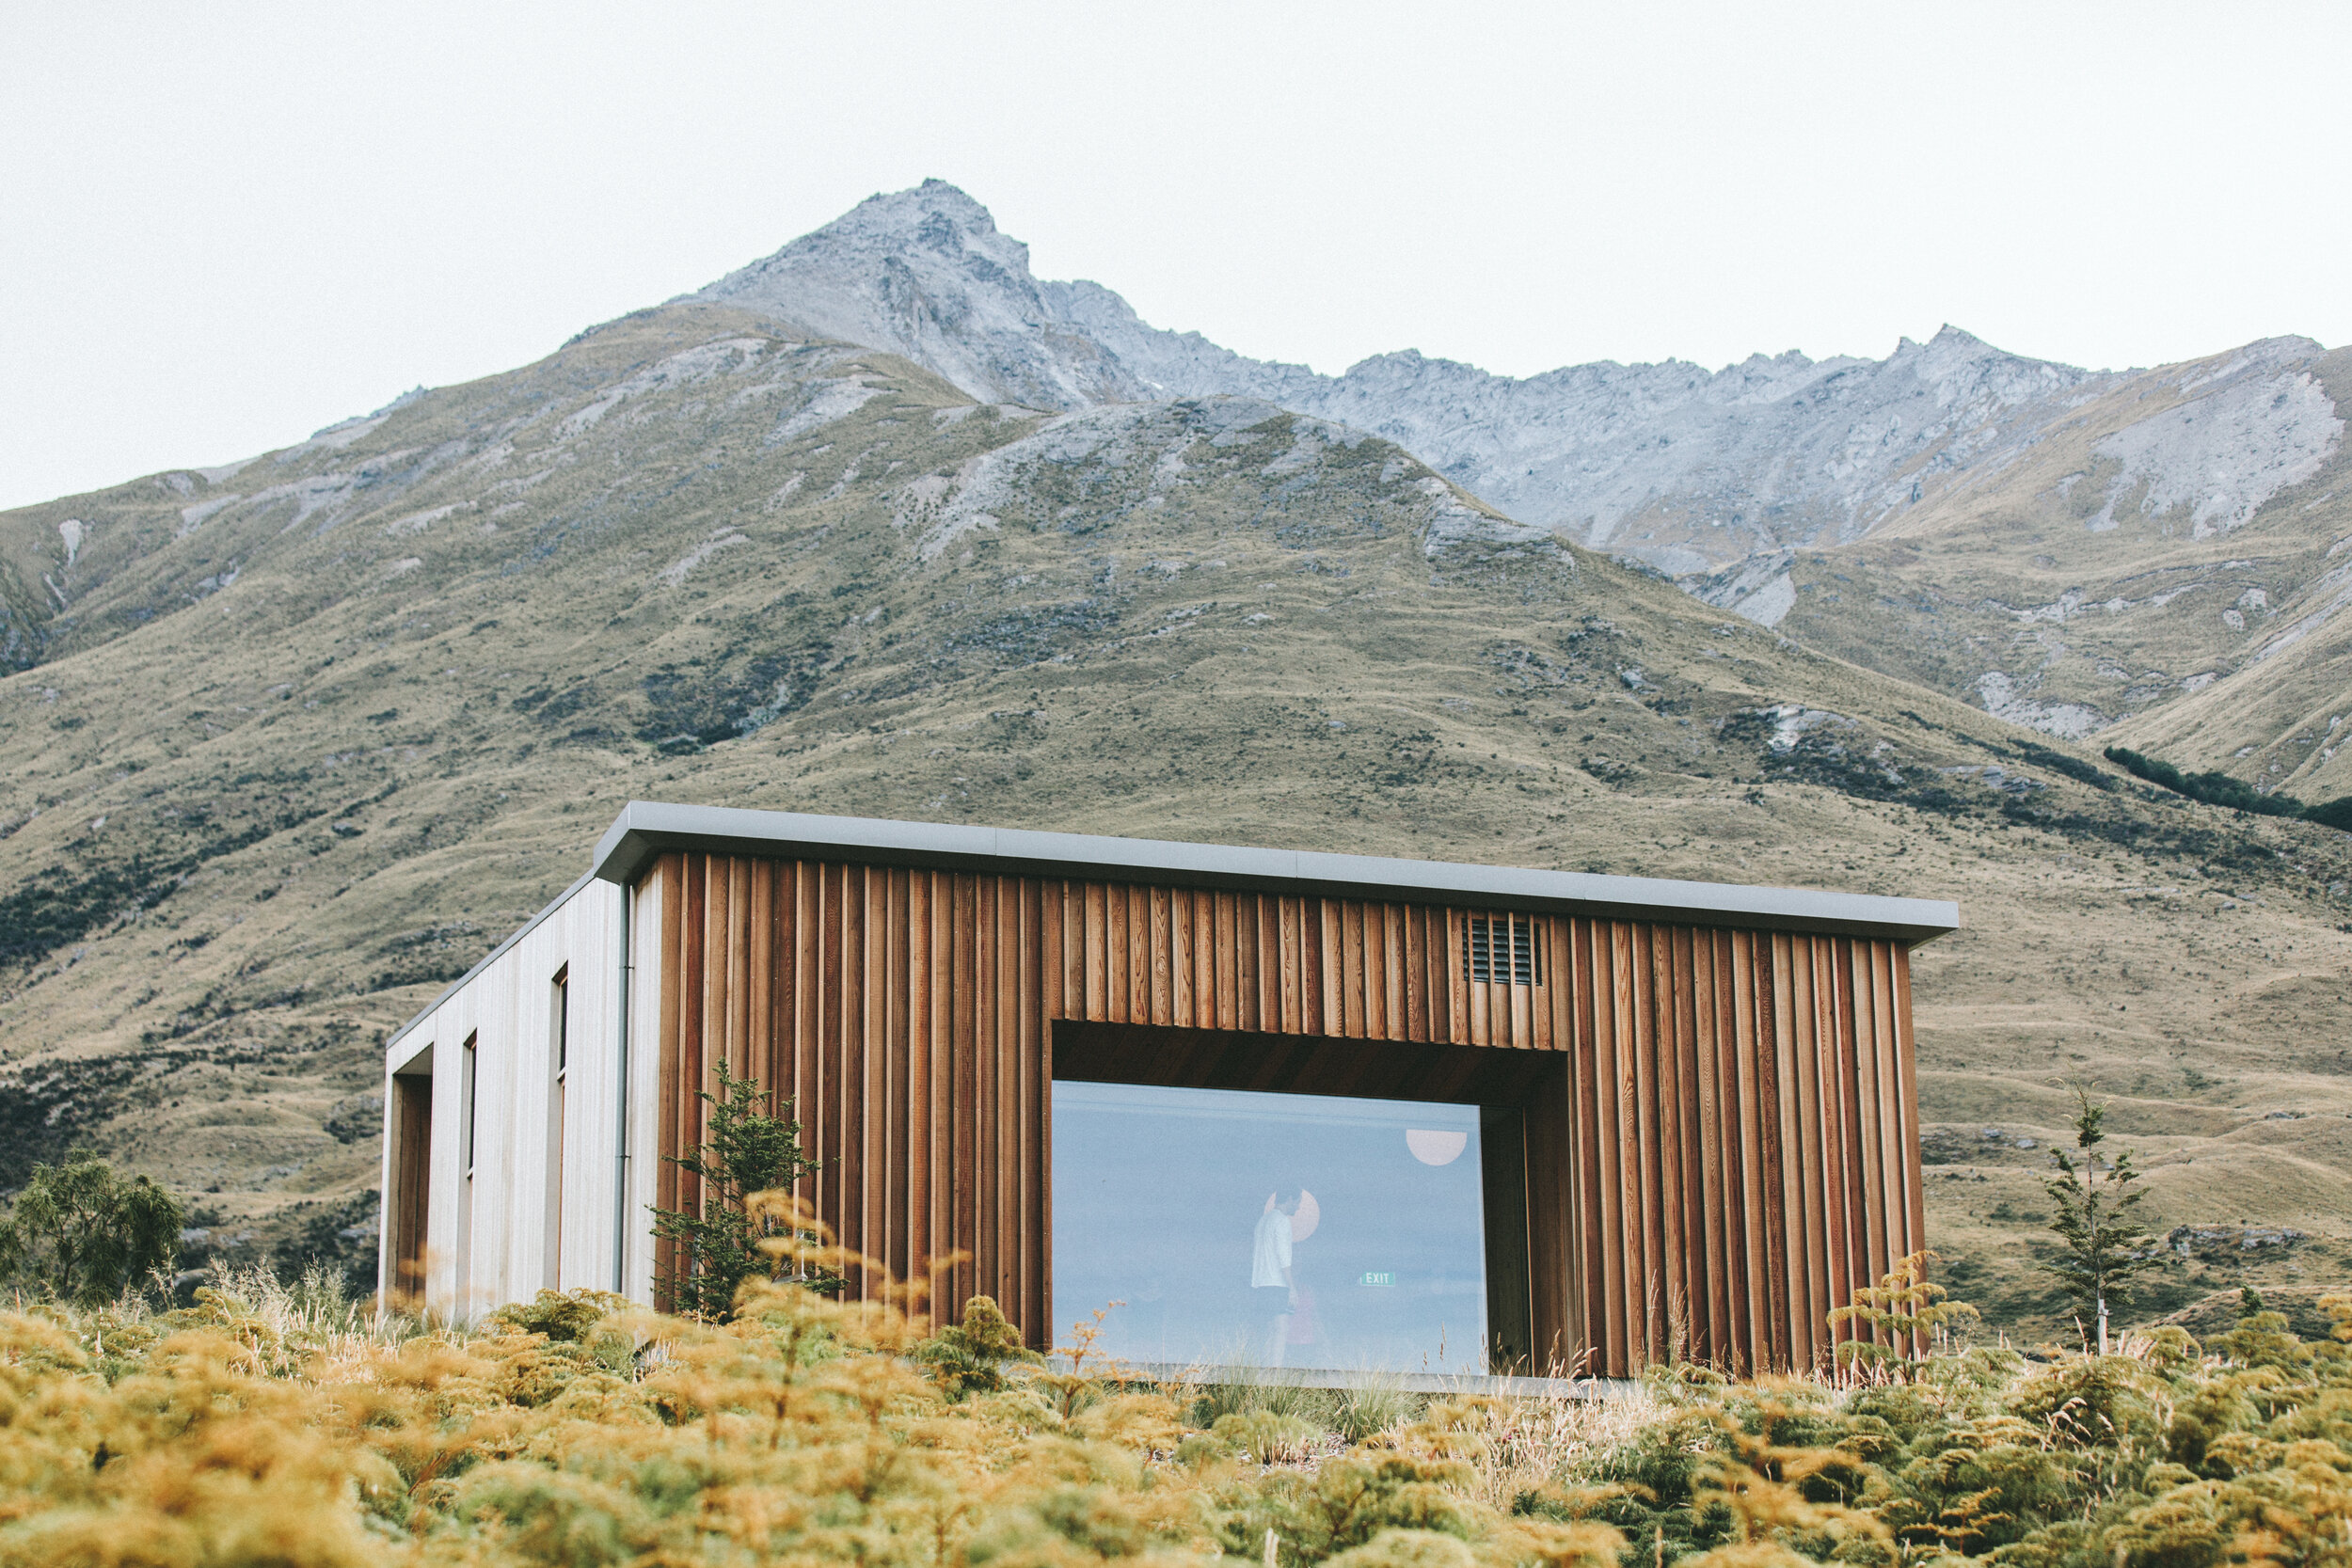
![Modern building with wooden exterior and large glass window, set against a mountainous landscape with sparse vegetation.]()
Grow it.
It all begins with an idea. Maybe you want to launch a business. Maybe you want to turn a hobby into something more.
Whatever it is, the way you tell your story online can make all the difference.


